


Android Nougat and above version is no longer trusts user supplied CA certificates. Then we need to install a trusted CA at the android OS level on a rooted device or emulator.
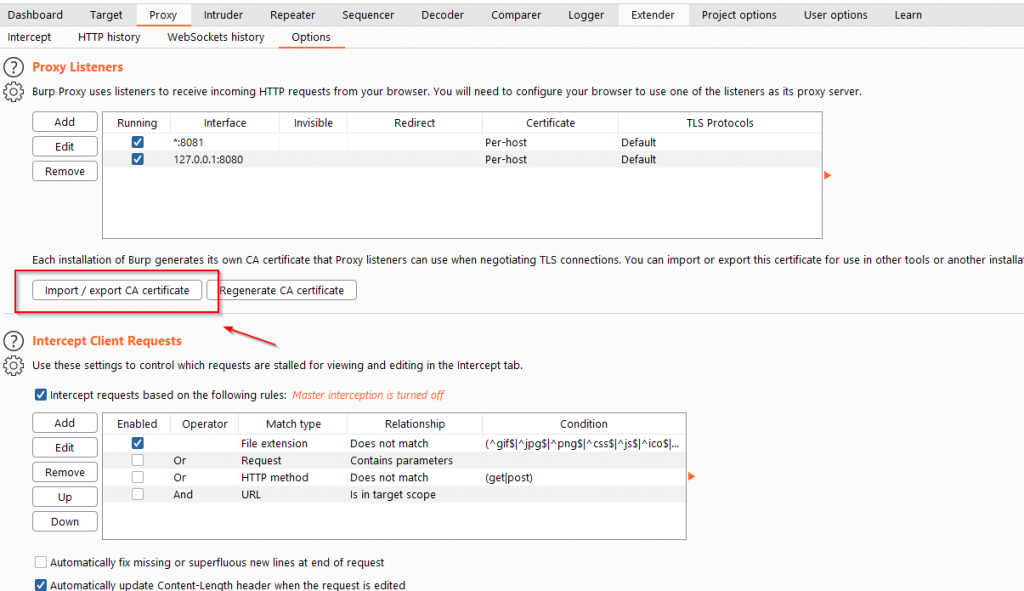
Step 1: First, we need to import/export CA certificate from burp suite. Go to Proxy > Options > import/export CA certificate.
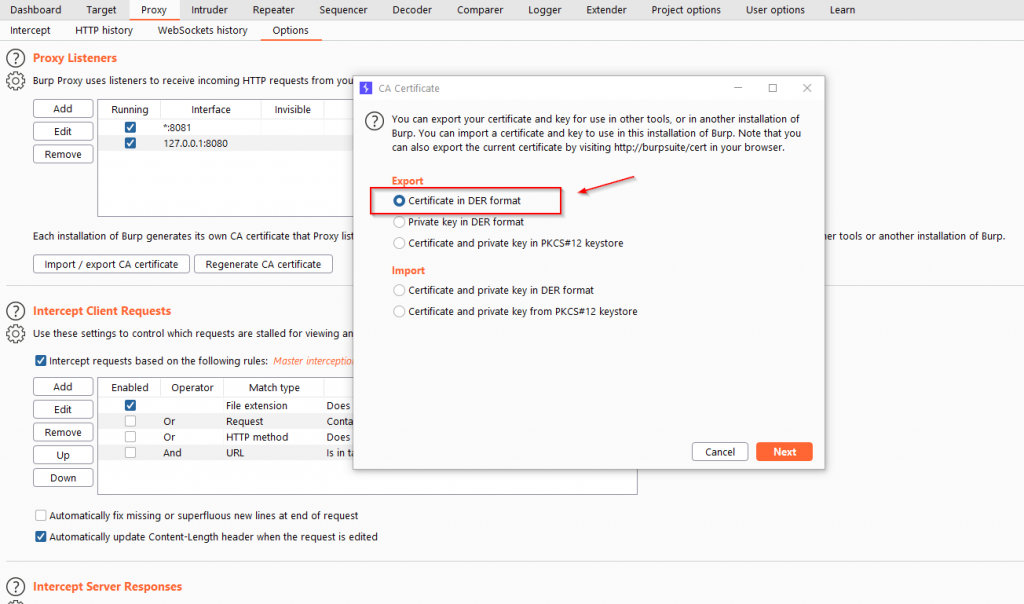
Step 2: Then export the CA certificate in DER format and click next.
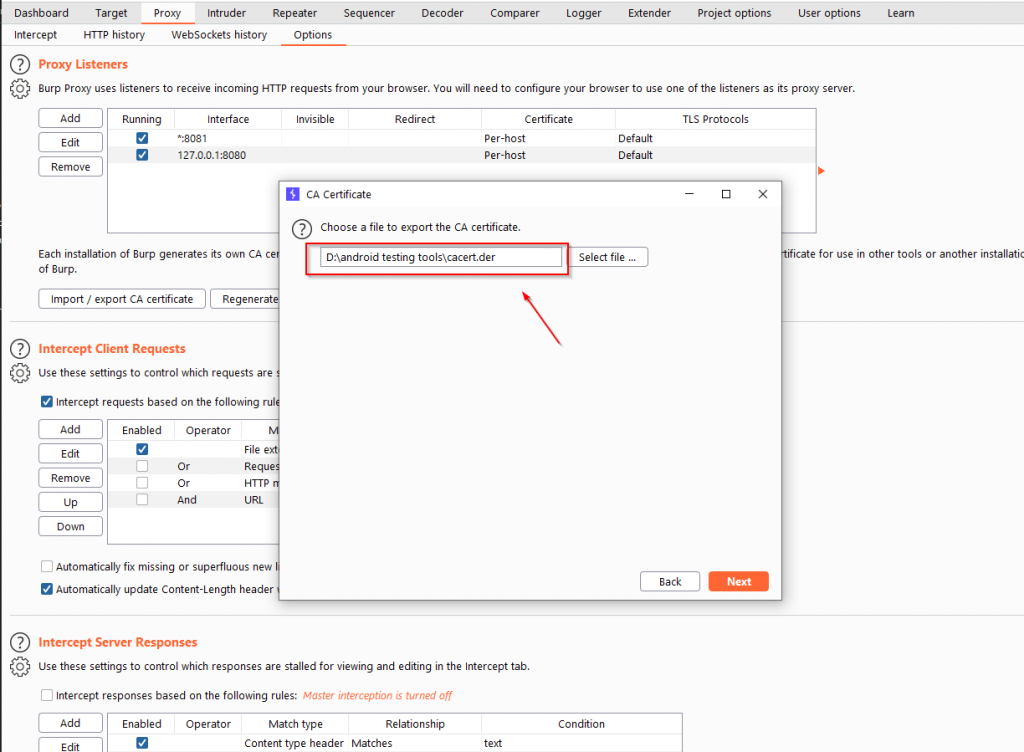
Step 3: And, select the location to save the certificate and click next to export successfully.
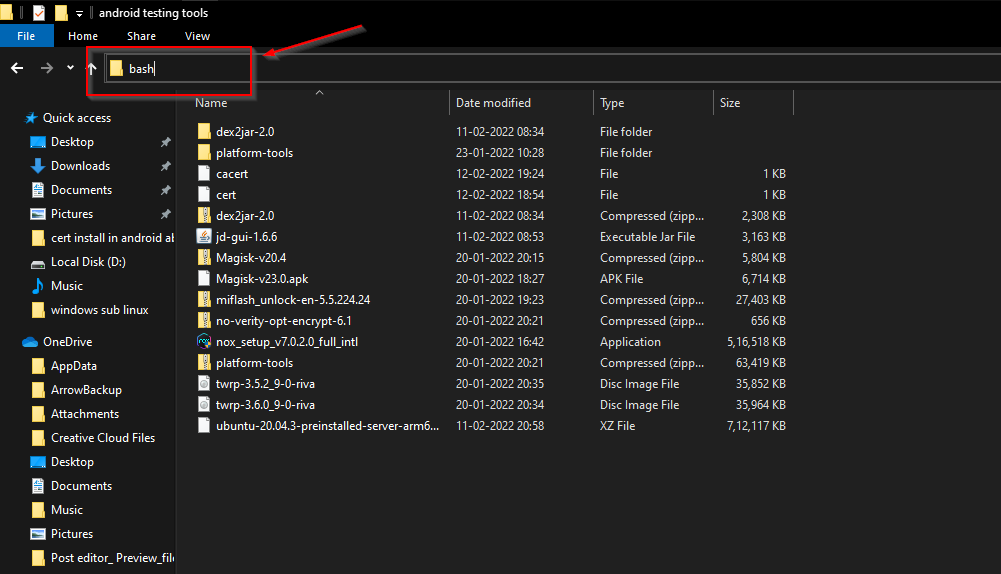
Step 4: Then, open the bash(windows sublinux) terminal on the location where, the certificate exported.
Step 5: After that we need to convert the certificate file format from DER to PEM and then move the PEM format certificate in its hash file, as generated in below screenshot. Follow the below commands to perform the same.
> openssl x509 -inform DER -in cacert.der -out cacert.pem
> openssl x509 -inform PEM -subject_hash_old -in cacert.pem | head -1
> mv cacert.pem <hash>.0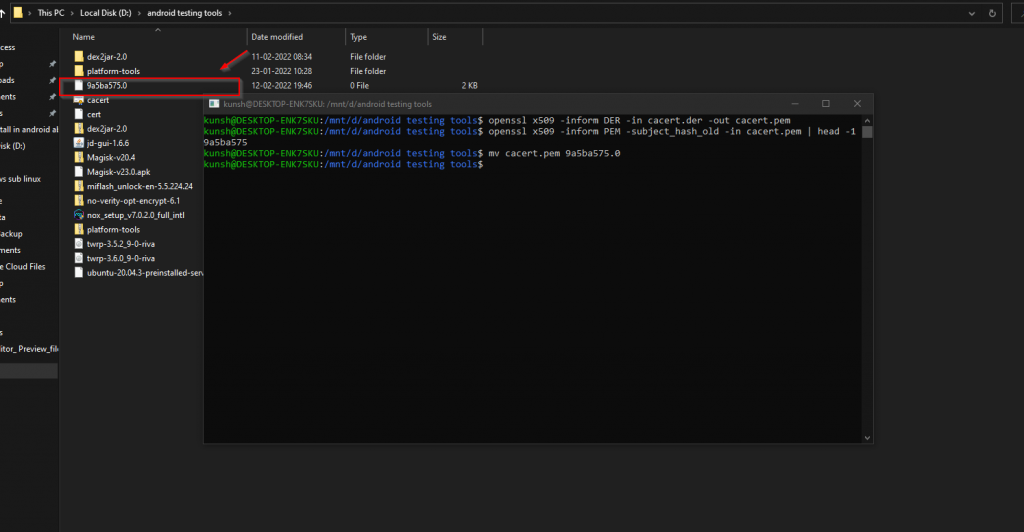
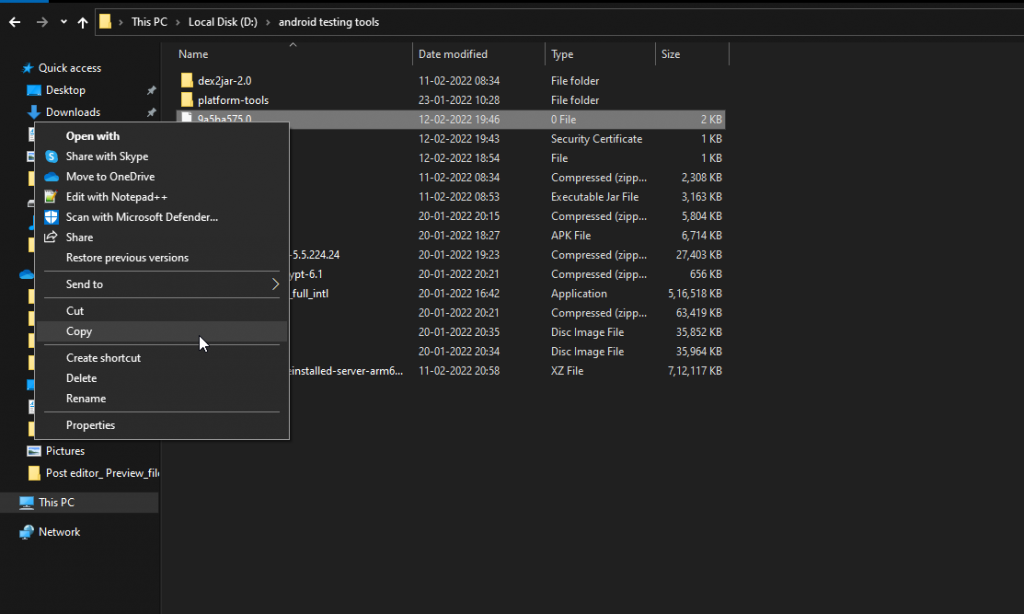
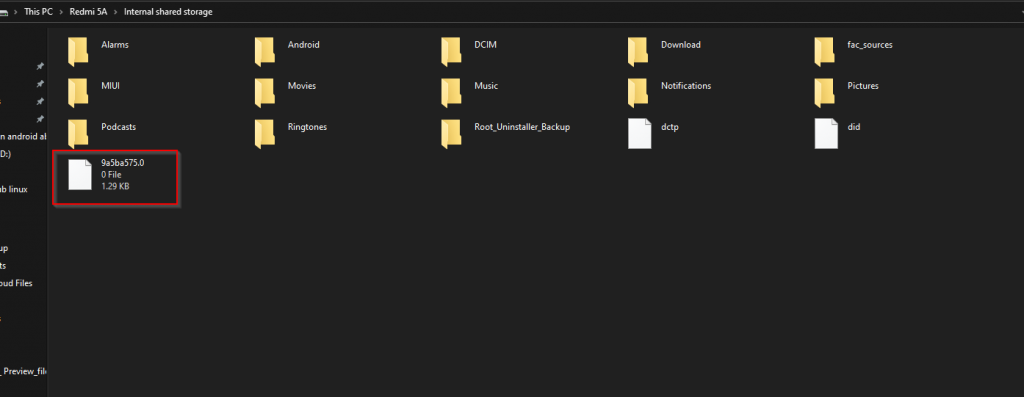
Step 6: Then copy the certificate hash file and save it on the device internal/external storage. As I’m using the redmi 5A physical device. So I pasted the file on internal storage.
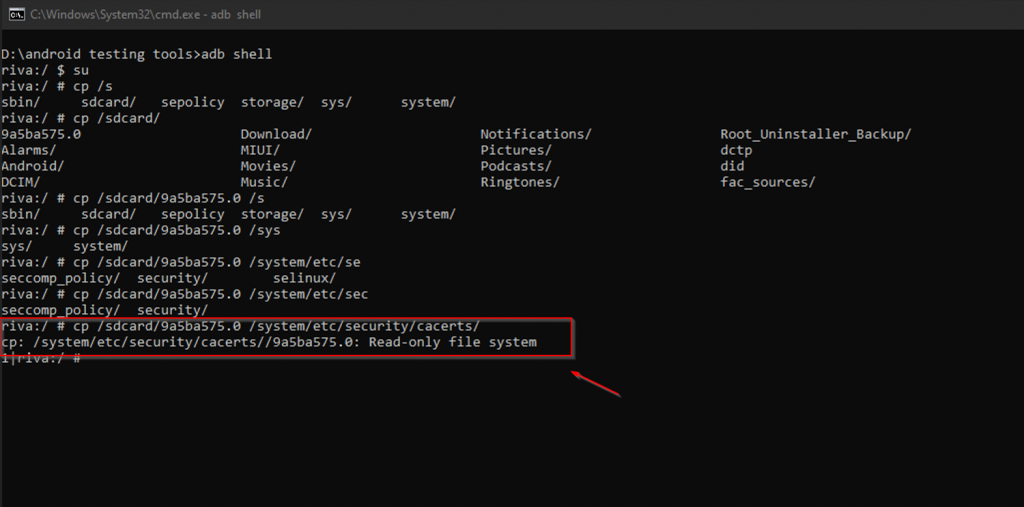
Step 7: After that open adb shell form cmd and go to the storage section where certificate hash file saved. And we need to copy the file from “storage/” or “sdcard/” to “/system/etc/security/cacerts/“. But as shown below, i was facing an Read-only file system error to copy the file on cacerts/ folder. Because I was using the physical device and we cannot run the adb root command until to change the device form production builds to development builds.
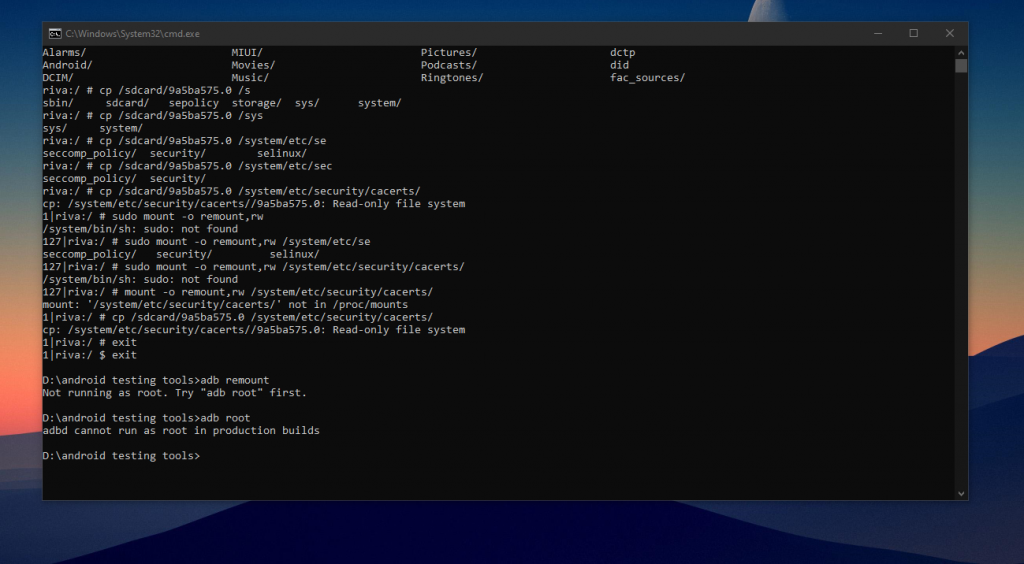
Step 8: To solve this issue we need to remount the /system folder as read&write permission, with the below command.
> mount -o rw,remount /system
Step 9: Then we perfrom the “step 7” again to copy the hash file from sdcard/ to cacerts/.
> cp <location>/<hash>.0 /system/etc/security/cacerts/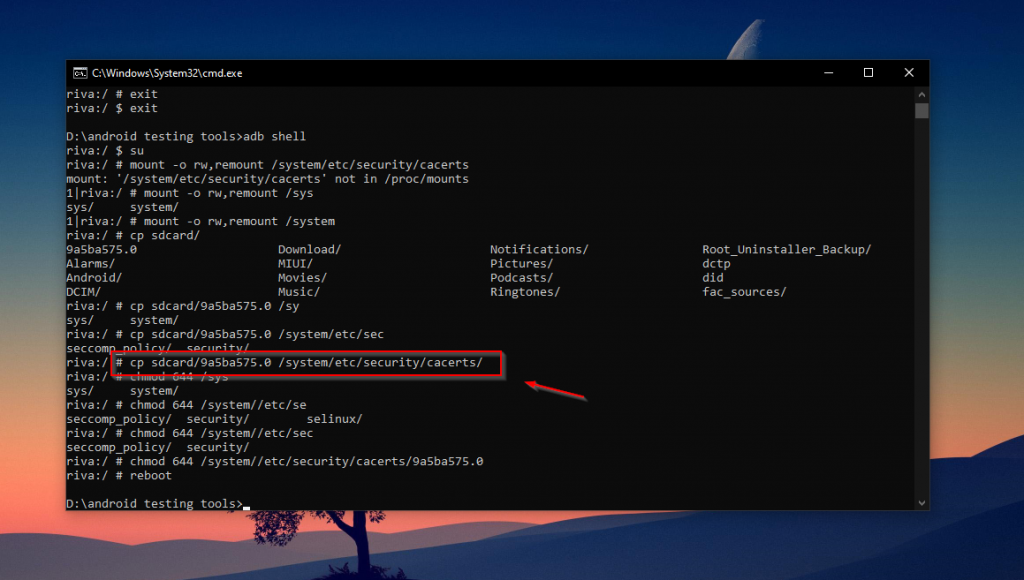
And then change the directory permissions with below command. And then reboot the device.
> chmod 644 /system/etc/security/cacerts/<hash>.0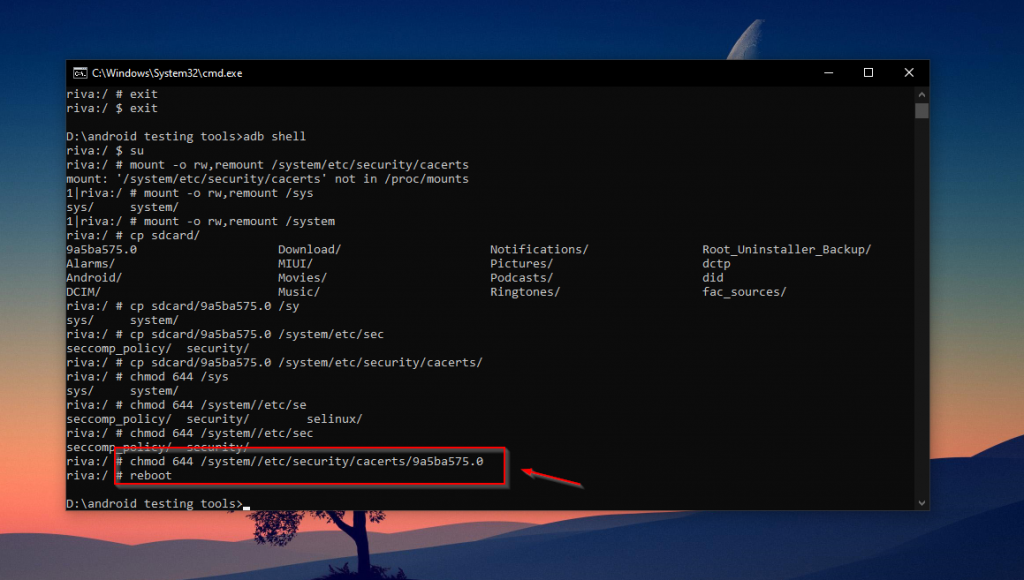
Step 10: As we can seen in the below screenshot, portswigger certificate successfully installed as trusted root CA(system).

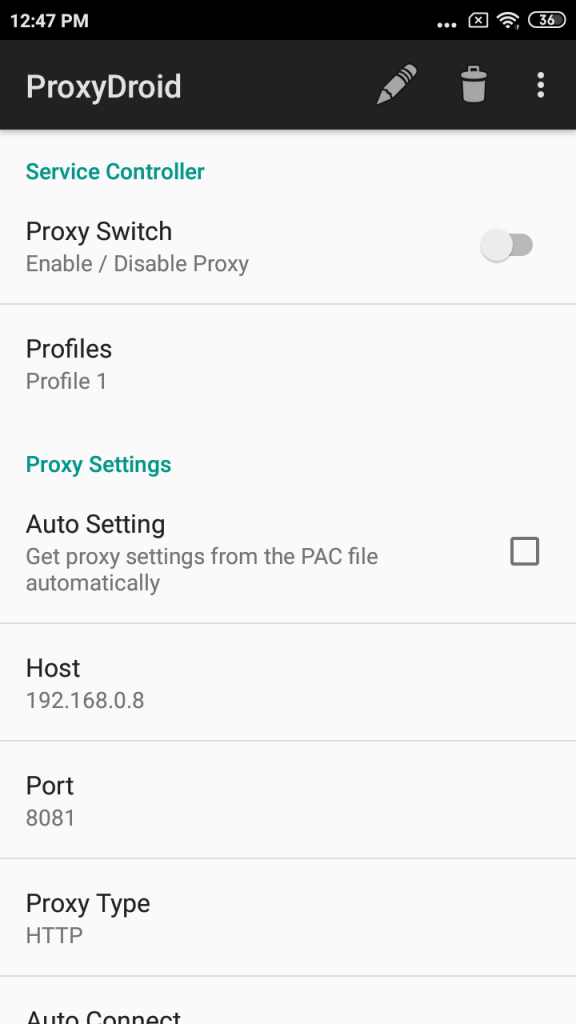
Now we can intercept the request of application on burp. You can use ProxyDriod, app the best proxy application.


Thanks